
It’s annoying having your shower head constantly dripping. Each drips comes out and hits the bathtub, creating possible noise discoloration. Plus, the dripping shower slowly pushes up your water bill.
The positive is that you probably don’t need to call a plumber to fix it. Most of the time, this is a fairly simple problem with a simple, inexpensive solution to match. You just need to know where to look and have the right tools at your disposal.
Here is how to fix a dripping shower head.
Tools to Fix a Dripping Shower Head

There may be one or two additional tools you need, but you don’t need much for the most part. Have an adjustable wrench to undo the nut on the showerhead. Adjustable pliers can work. A locking wrench can work as well. A pipe wrench is also workable, although few people have these available in their homes.
Shut Off the Water Before You Start
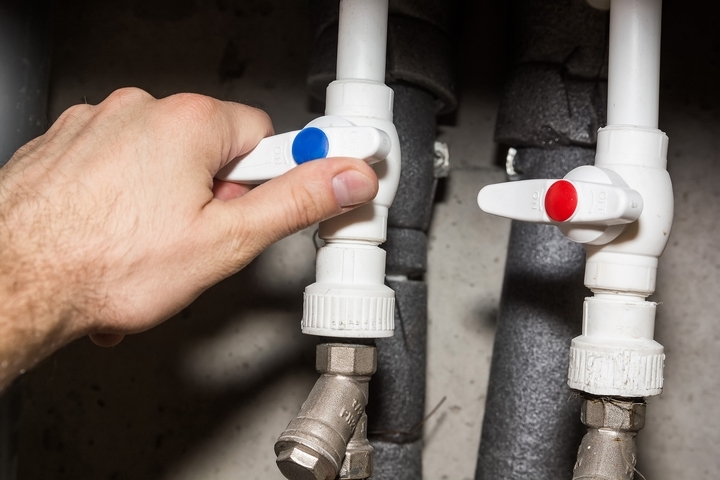
You can’t do work on a dripping shower head until you turn off the water. If there’s a valve separate from the shower or bathroom, use that. If not, you will need to shut off water to the whole property. After you do so, open the faucet and let the water run. This will clear what’s in the drain and allow you to get to work on your repair.
Carefully Remove The Shower Head
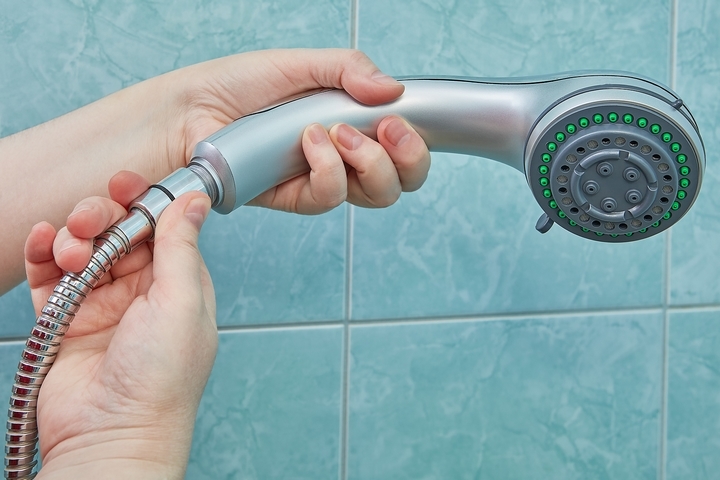
The backside of the showerhead will have a nut. Turn left or counter-clockwise to remove. A short water pipe arm should be extending out of the wall. Be careful when torquing the nut. Plastic shower heads can crack if you’re too tight on the nut. If you notice a few drops of water, that’s ok as you do this. If you notice more than a trickle, you need to reconfirm you’ve shut the water off.
Examine the Sealant Thread Tape

A common source of leaks in a showerhead is the sealant thread tape which has grown old, losing its once-watertight seal. This seal is needed between the water pipe arm and the showerhead. If the area appears damaged or the tape is obviously worn, remove the plumber’s tape there using a brush. Apply a few inches of new plumber’s tape over 4-5 times. This should do the trick if that’s the issue.
Check the Rubber Washer Or O-Ring

On the back of the showerhead, there is a rubber washer or O-ring. This washer can slowly stiffen over time. When it does so, it’s no longer capable of being a watertight seal. It needs to be replaced, which is very easy and affordable. The only thing you have to make sure is the new washer is the same size.
Clean the Shower Head Inside and Out
While you’re disassembling everything, take the chance to clean the showerhead inside and outside. Soak the showerhead in distilled vinegar overnight. This will remove any hard water scaling that could clog and facilitate leaks. Scrub the showerhead thoroughly with a nylon brush. This will restore your showerhead to as close as brand new as it’s going to get.
Reassemble and Give It a Try

A repair like this shouldn’t take longer than an hour to complete. When done, reassemble everything, turn back on the water, and check for leaks. The majority of the time, it should be resolved. As every shower head is different in aesthetic, you may want to look up the brand manual online to help with understanding what parts are where and how to disassemble or reassemble as needed.
Look at the Shower Valve

A leak could be coming from the valve in the shower taps. Unscrew the handle of the tap. Replace any rubber washers or O-rings, just like you did with the showerhead. You want to visually inspect the shower valve, just like you did with the showerhead component and undergo the same sort of replacements. Afterward, you can reassemble everything and try it again. If it’s still leaking, you may need a professional plumber to have a look.
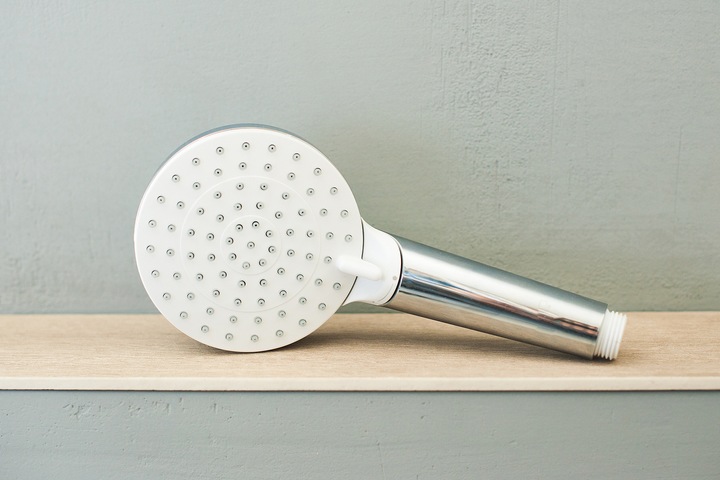
Replace a Broken Shower Head

You may discover the leak is not from the pipe or connection but rather the showerhead is cracked. The easiest thing to do here is to install a new showerhead. They aren’t expensive. Showerheads vary in design from the most basic to those with lots of features and interesting technology.
Let’s say the dripping sound doesn’t bother you. Perhaps you’re a little anxious about fixing a leaky shower head yourself. Don’t wait to do it. A dripping shower head, annually, wastes about 5,500 litres of water. It’s not just a problem with your water bill. It’s bad for the planet as well.
If there’s leaking behind the shower valve, it could be leaking behind the wall, leading to mould and rot. The longer you wait, the more water you waste, and the more expensive the repair may be.


